Caperity
Project capacity planning made simple
Welcome to Caperity!
This guide walks you through the basic setup so you can start planning.
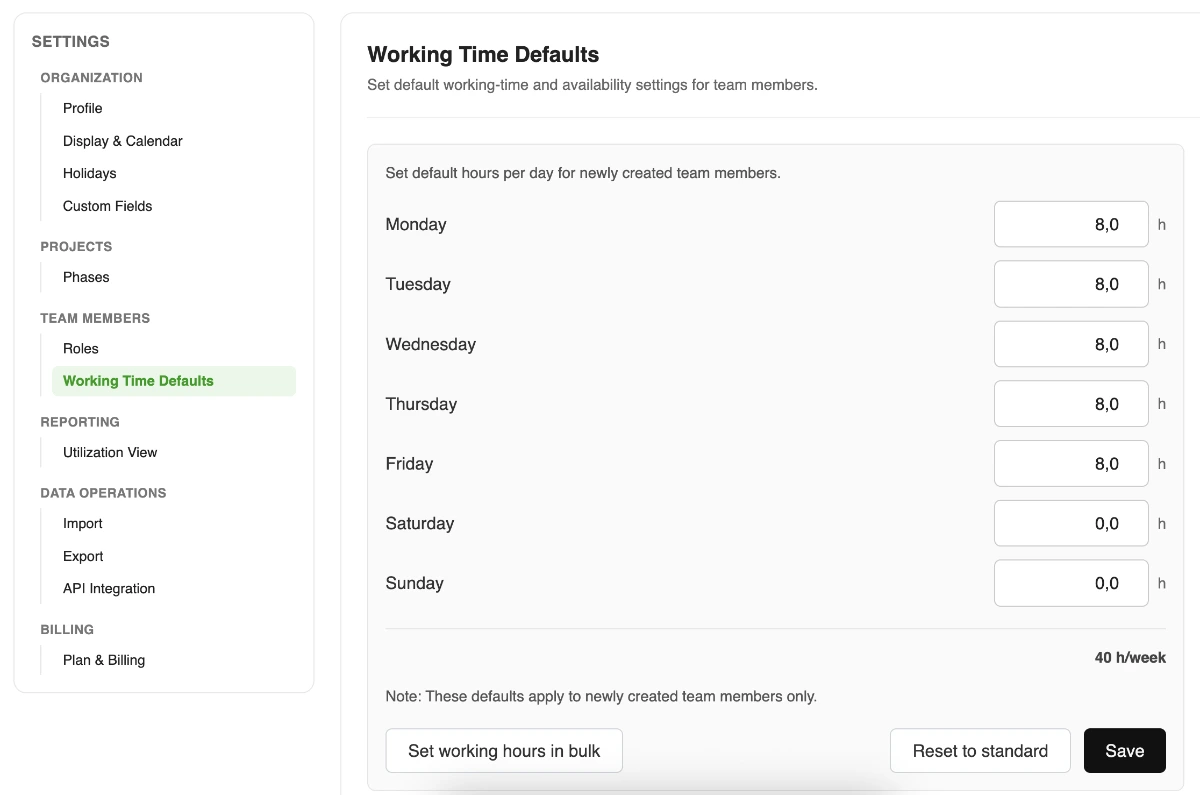
Default working hours are applied when you create new team members. Set your team’s default schedule under Settings → Working Time Defaults:
Later you’ll learn how to set individual schedules per person.
Set the default schedule in the table below and click Save:
Choose Projects from the left navigation, then choose Create Project to create your first project.
You can also upload projects from a spreadsheet by choosing Import Projects.
Go to People, and add your team members by choosing Create Team Member.
Team members can also be imported from a spreadsheet.
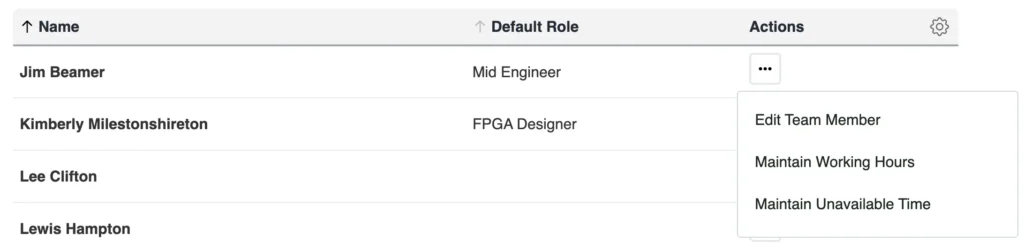
Each team member can have their own working schedule. Part-time setups and temporary schedule changes can also be managed individually.
To adjust a person’s working hours, select Maintain Working Hours :
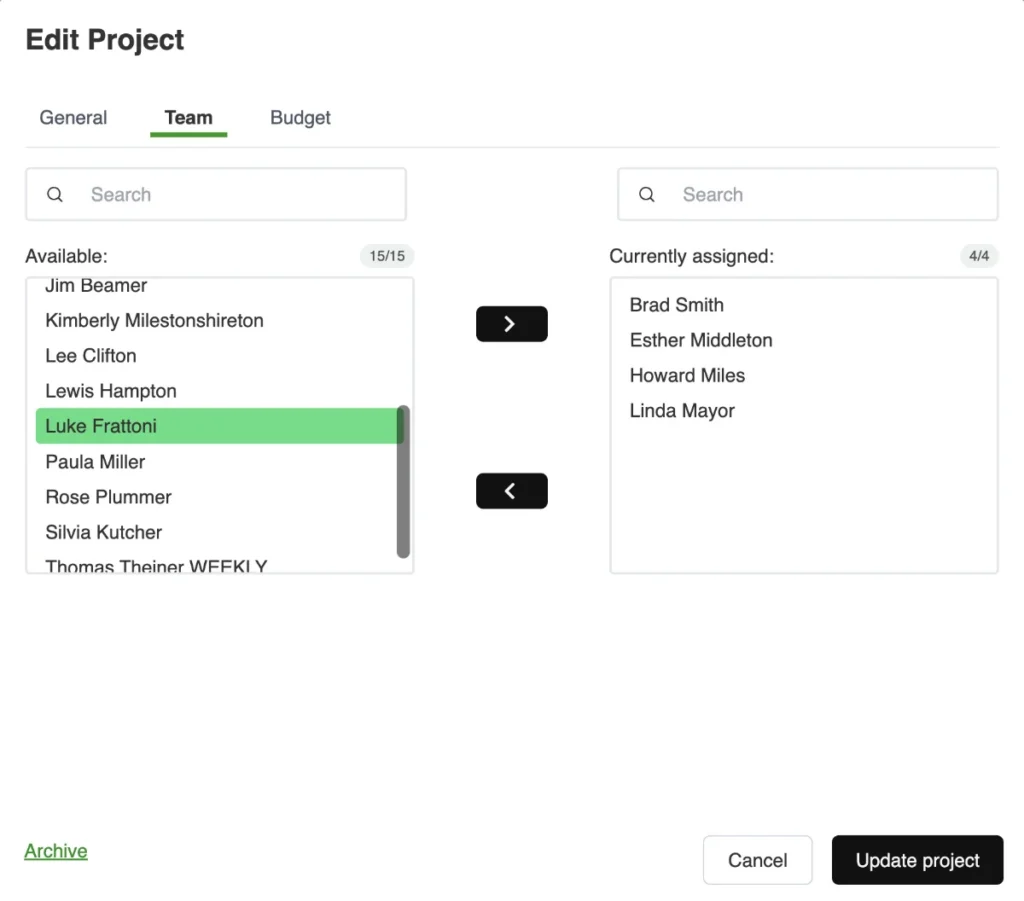
Map your team members to the right projects.
Go to the Team tab in the Project dialog to set the project team:
If you don’t see a project in Project View, it is because no team member has been assigned yet.
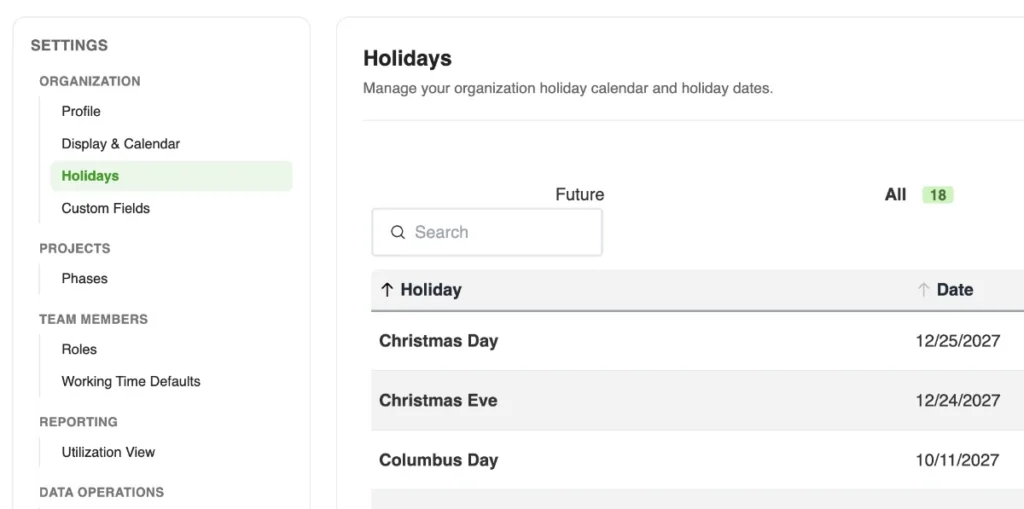
Caperity factors in time off and holidays to determine availability.
Holidays can be maintained in Settings:
You can import planning data (planned work by project and team member) from a spreadsheet or time tracking export via Settings → Import.
Caperity accepts row-based data in this format:
If you need help getting started, let us know via the contact form.
We’re more than happy to help.