Caperity now supports project phases, a new feature designed to help you visualize your project timeline and simplify resource planning.
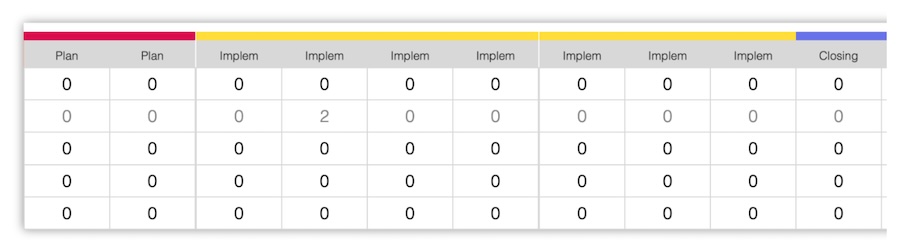
Phases can be displayed in Project View.
Why project phases are helpful
When you break a project down into phases, you can better understand how your team’s workload will evolve over time. This makes it easier to allocate the right people at the right time.
Defining standard phases is especially helpful when your projects follow a similar structure. You only need to set them up once. Then, you can re-use these same phases for multiple projects. This saves time and ensures consistency across all your work.
Defining phase templates
The first step is to create phase templates for your projects.They can be re-used in multiple project by assigning a phase start and finish date.
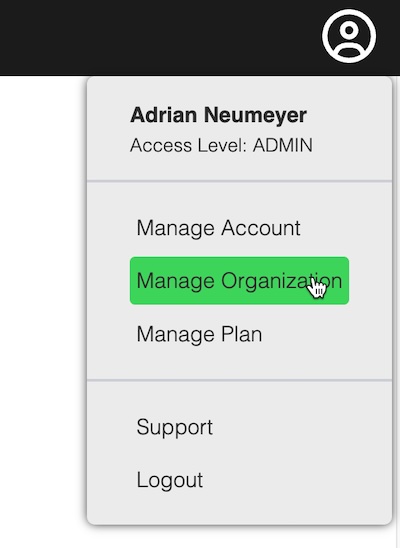
To define phase templates, go to Manage Organization:
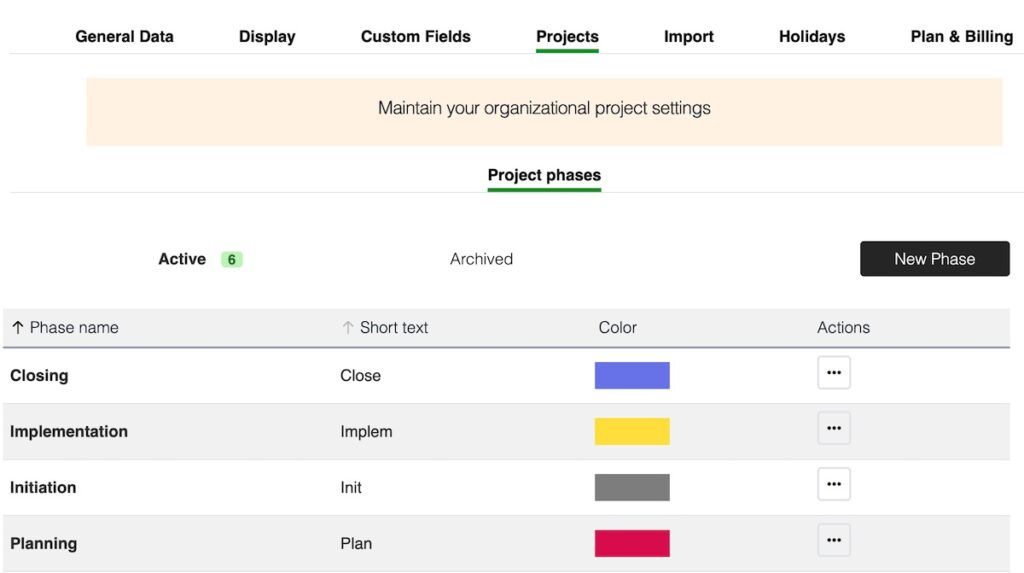
Open the Projects tab, and click New Phase:
Enter both a long and short name for the phase:
In Project View, Caperity will show the short name, and display the long name when you hover over the phase.
Repeat this step until you’ve created all needed phase templates.
Adding phases for a project
Once you have created phase templates, you can take a specific project and define its phase structure.
Important! Before you can add phases to a project, you have to set the project start and finish dates in the project details. Any phases defined must fall into the project time frame.
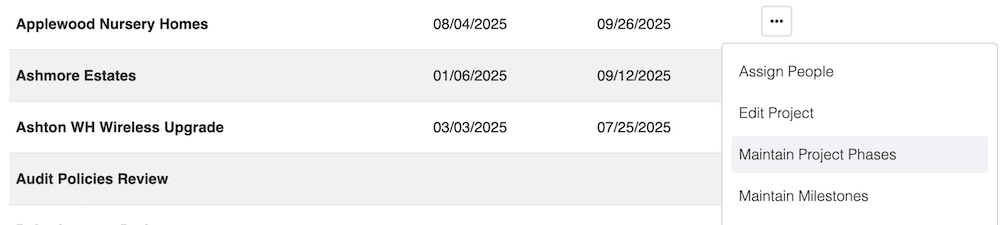
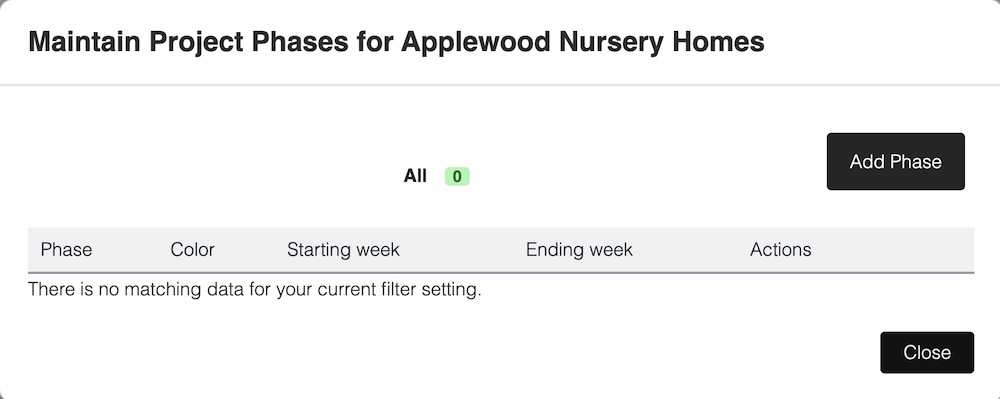
Go back to the Projects page. Then, choose Maintain Project Phases for the project you want to add phases for.
Click Add Phase:
Select a phase, and set the starting and ending week. In Caperity, phases always start at the beginning of a week and end on the last day of the ending week. Phases cannot start or end mid-week.
When done, click Add phase to project.
Repeat this step to set up all required phases for your project.
Review the phases created and click Close:
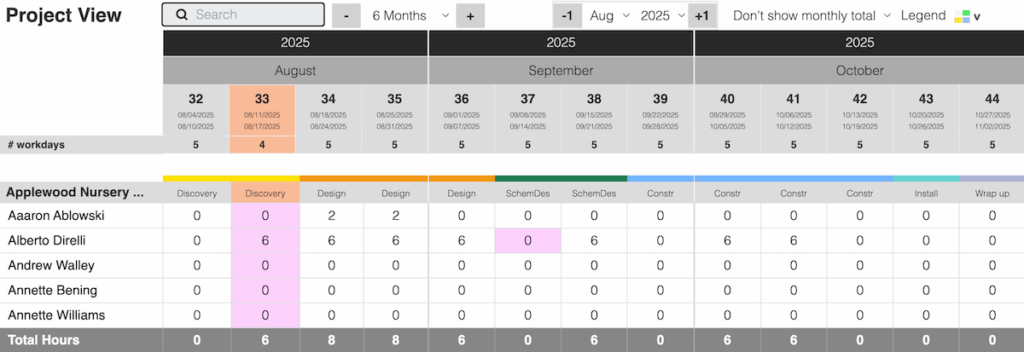
Displaying phases in Project View
When you go to Project View, your project will now appear in the phase structure set up earlier:
This makes resource planning much easier, because you know who you need to involve for each phase, and with how many hours.