TeamBandit now allows you to add custom attributes to team members, helping you group them by specific criteria or find individuals with particular skills! For example, you can now easily categorize team members by their roles.
This tutorial explains how to set up and use custom attributes.
In this example, we create a new custom attribute for team member roles, such as Designer, Engineer or Project Lead.
Setting Up Custom Attributes
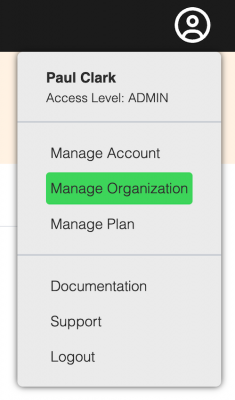
1. Navigate to Organization Settings: Go to your organization’s settings.
2. Access Custom Fields: Click on the “Custom Fields” tab.
3. Create New Custom Field: Click “New Custom Field.”
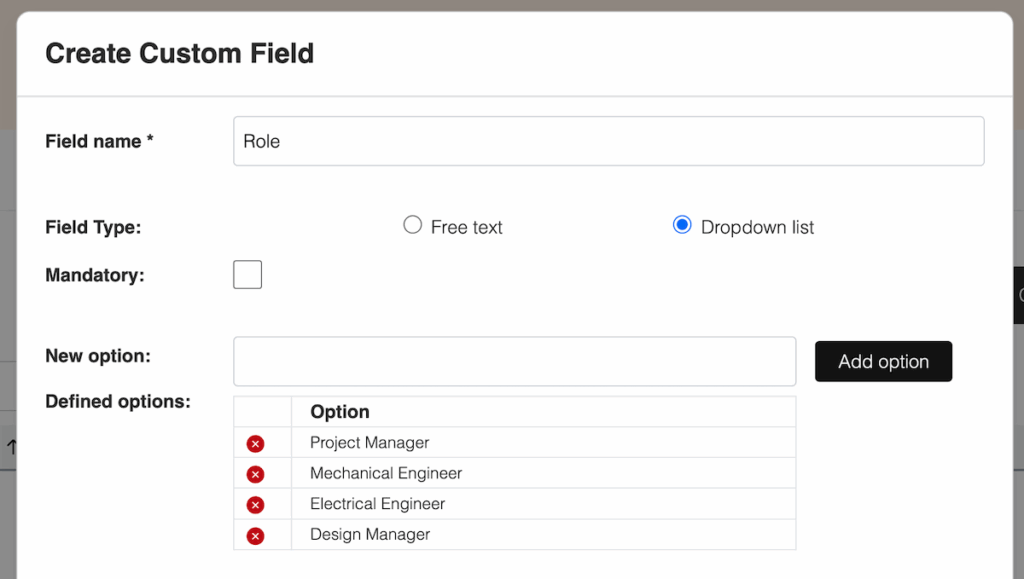
4. Enter Field Name: Enter a name for your custom field. For our example, type “Role.”
5. Select Field Type: Choose a field type:
Free-text field: Allows you to enter any value.
Dropdown list: Requires you to select a value from a predefined list. For team member roles, a “Dropdown list” is recommended to ensure consistent naming.
6. Set Mandatory Flag (Optional): If this field is required when creating a new team member, select the “Mandatory flag.” For the “Role” example, leave it unchecked.
7. Add Dropdown List Options (if applicable): If you selected “Dropdown list,” a “New option” field will appear. Enter your desired options (e.g., “Project Manager,” “Mechanical Engineer,” “Electrical Engineer,” “Design Manager,” “Purchaser”) and click “Add option” after each entry. You can always add or change these options later.
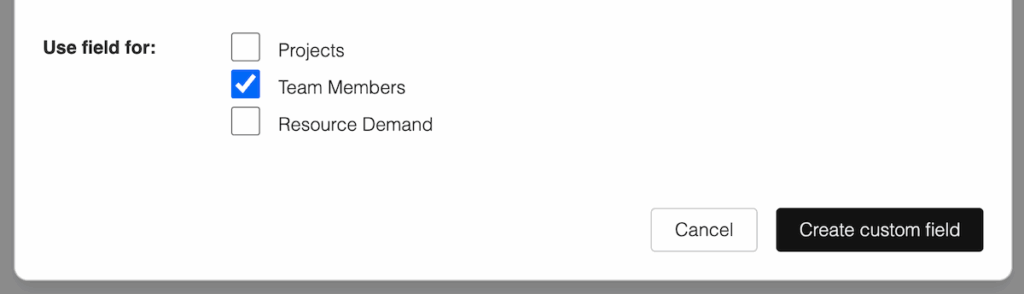
8. Define Field Usage: For “Use field for,” select “Team Members.” This associates the custom field with team members. (You can also create custom attributes for projects.)
This will create a new “Role” attribute associated with your team members in the database, allowing you to maintain each team member’s role.
Maintaining Custom Attributes for Team Members
Once you’ve created your custom field, you’ll need to populate it with data for your team members:
Go to the People Page: Navigate to the “People” page.
Edit Personal Info: For the team member you want to update, click “Edit personal info.”
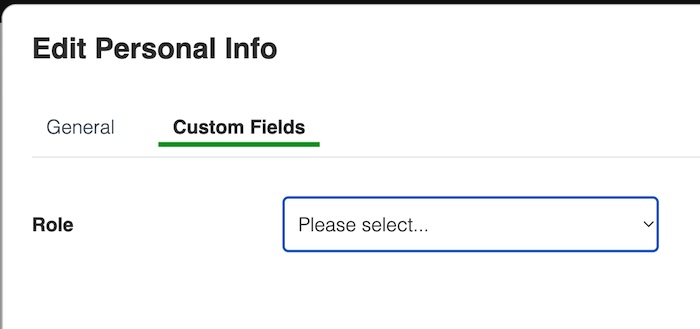
Access Custom Fields Tab: Click on the “Custom Fields” tab. Your new field (e.g., “Role”) should appear here.
Select Attribute Value: Choose the appropriate value for the team member (e.g., their role) from the dropdown list.
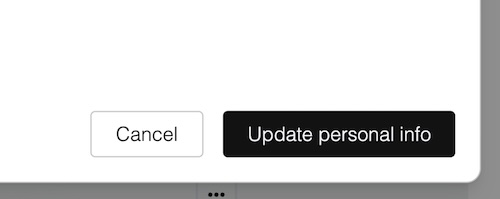
Save Changes: Click “Update personal info” to save.
Displaying Custom Attributes in the People Overview
To view your custom attributes in the team member overview:
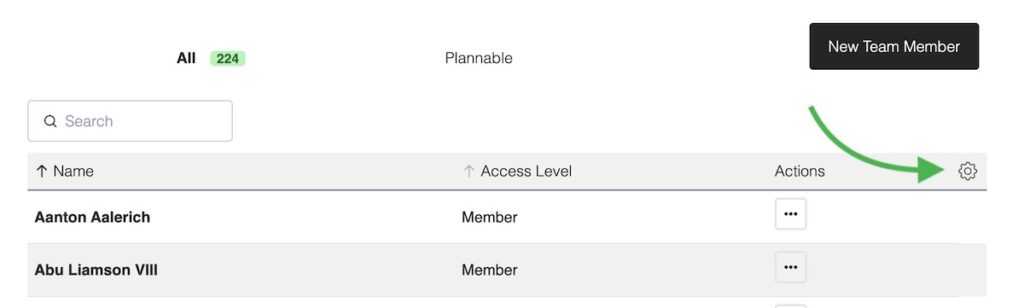
Go to the People Page: Navigate to the “People” page.
Open Column Settings: Click on the cogwheel icon in the upper right corner.
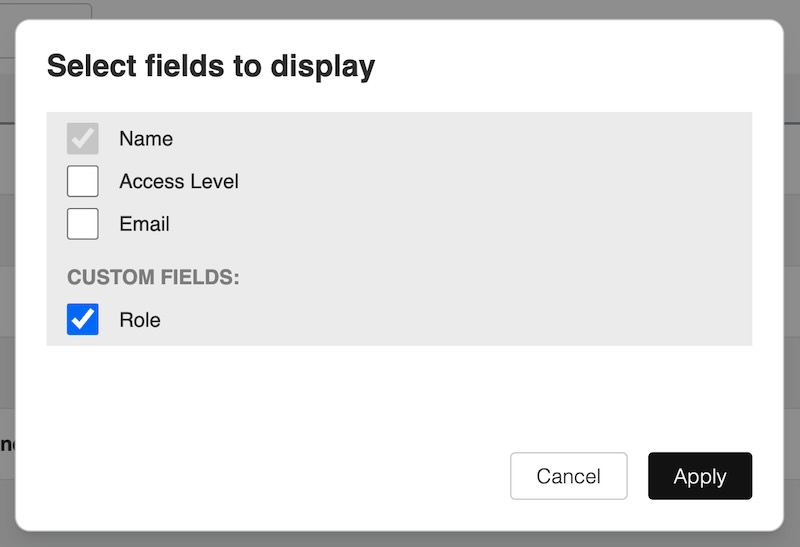
Select Custom Field: Select the new custom field you created (e.g., “Role”).
Apply Changes: Click “Apply.”
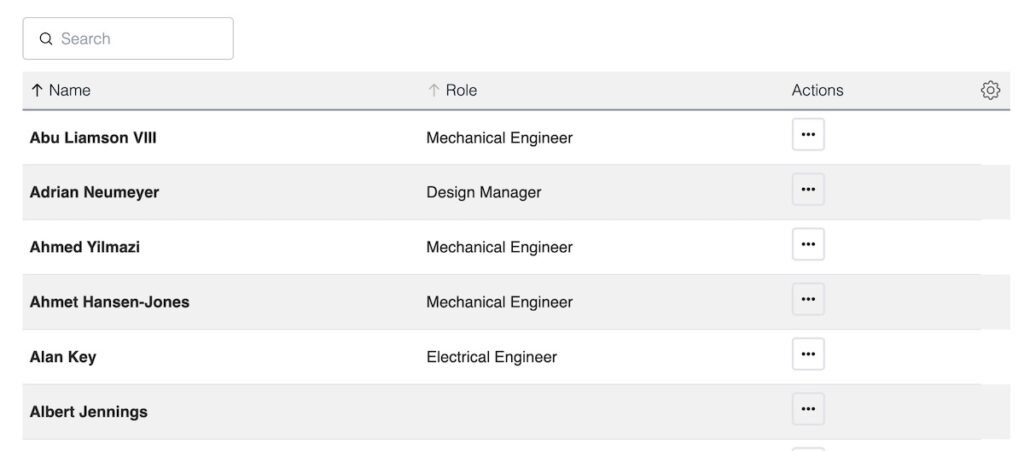
The new “Role” column will now appear in your table, displaying the values you’ve maintained. You can easily sort your team members by role by clicking on the “Role” column header.