Adding people and maintaining personal parameters is very easy in Caperity.
Adding a new team member
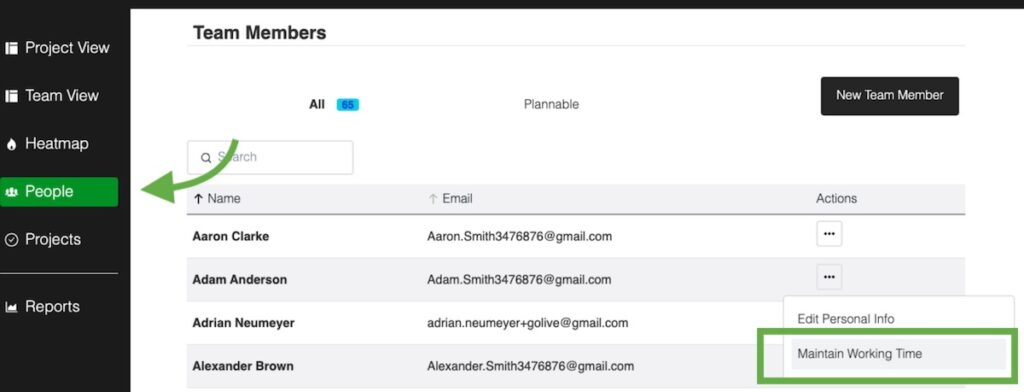
The easiest way to add new people is via the People page.
Choose People from the left menu and click on New Team Member.

In the dialog window, enter the team member’s name.
Choose an Access Level to set the permissions and user type.
Set the Plannable flag for team members who you want to plan hours for. Skip the flag for managers and other people who should not appear in capacity reports.
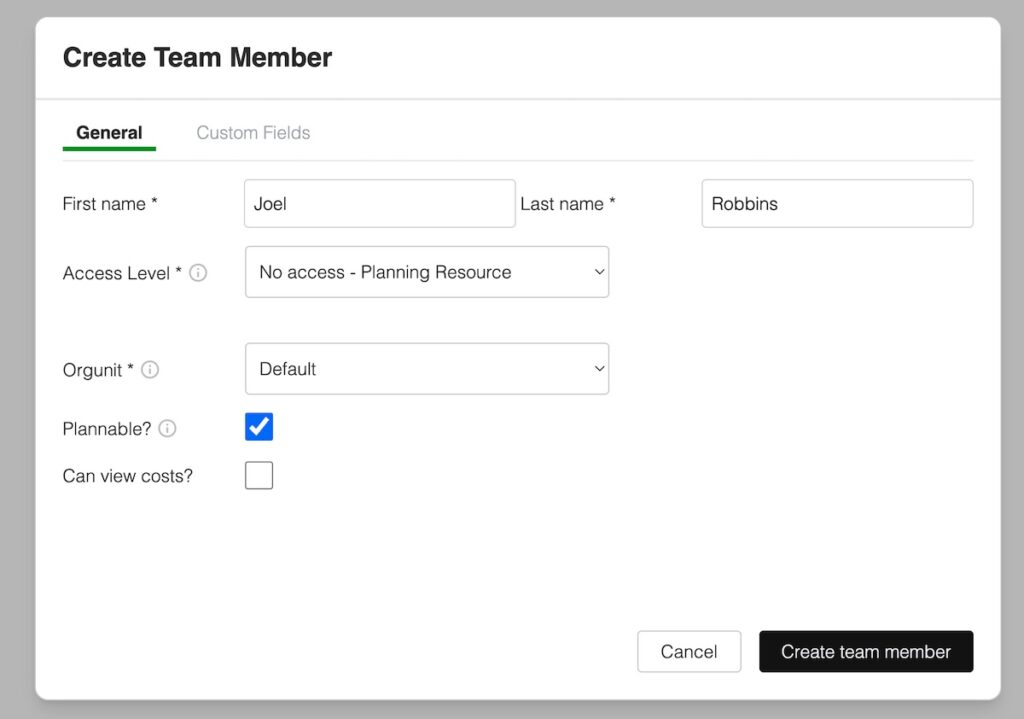
If you choose either a Member, Manager or Admin (Administrator) access level, you need to enter an email address.
Set the notification flag to send the team member an invite to accessing TeamBandit.
Click Create team member.
Understanding Access Levels
Access Levels define the properties and permissions of team members in Caperity. You can choose from the following Access Levels:
- No access – Planning Resource: Select this level to add team members purely as resources for planning, without giving them access to Caperity.
- Member: Members will have a Caperity account and will be able to log in. They can maintain their own hours, and they can see the hours of other team members, but they cannot change them.
- Manager: Managers can view and modify the hours of other team members from their organizational unit.
- Administrator: People with Administrator permissions can maintain Caperity settings for their organization and they can manage the subscription. They can also upload projects and people in bulk.
Setting working hours
You can set custom working hours for each team member. This enables Caperity to accurately calculate availability for every team member, including part-time staff.
Go to the People page, click the Actions button and choose Maintain Working Time.
Need to update working hours for a large number of people? We are working on a mass update feature — in the meantime just reach out and we’ll handle the update for you.
Uploading team members from a CSV file
You can also upload a larger number of people from a CSV file (comma separated values). You can find instructions here: