Learn how to create projects and assign team members so you can allocate their time.
Table of Contents
Creating a new project
Go the the Projects page and click New Project.
Enter a project name and other relevant parameters, such as a project code. You can set a start and finish date, although this is optional.
When a start and finish date has been entered, the project timeframe will be highlighted in the Project View.
You can choose the color of the project’s timeline bar in the Project View.
Uploading projects from a spreadsheet
If you want to upload projects from a spreadsheet, you can do so using the import feature.
Read the guide: Uploading projects from a spreadsheet
Assigning people to projects
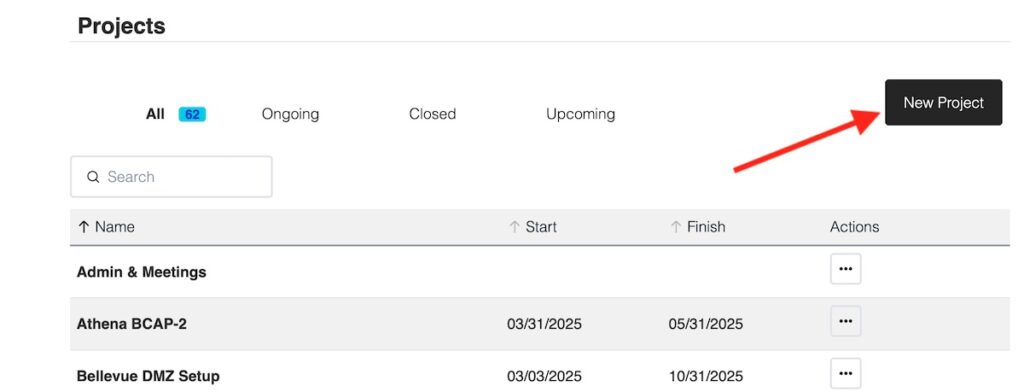
To assign people to the project you just created, go to the Projects page.
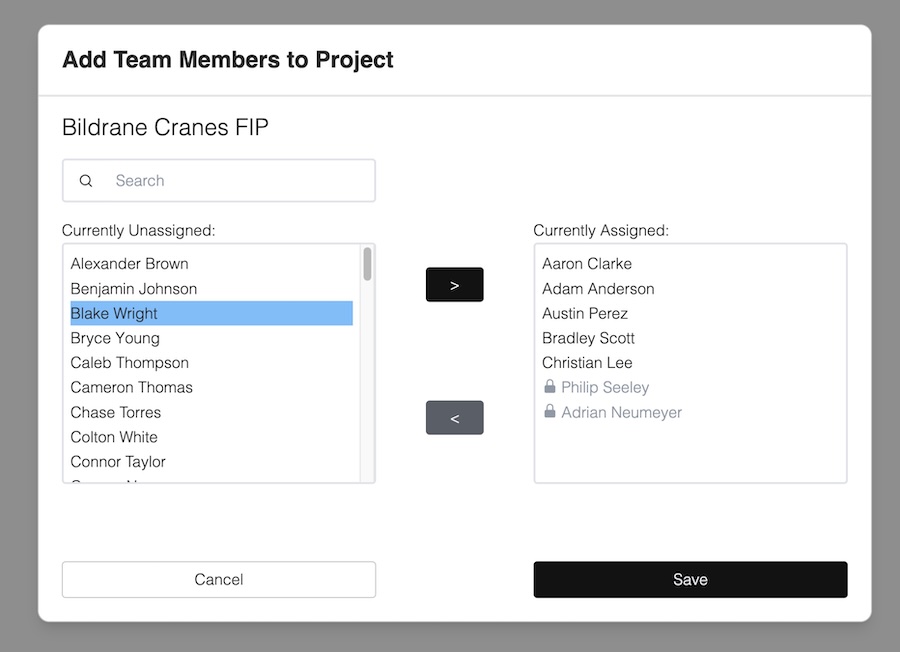
Click on the Actions menu for the project you want to set the team, and click Assign People.
Select the people you want to assign and click the “>” button to add them to the project team:
Click Save.
You have now successfully added people to the project.
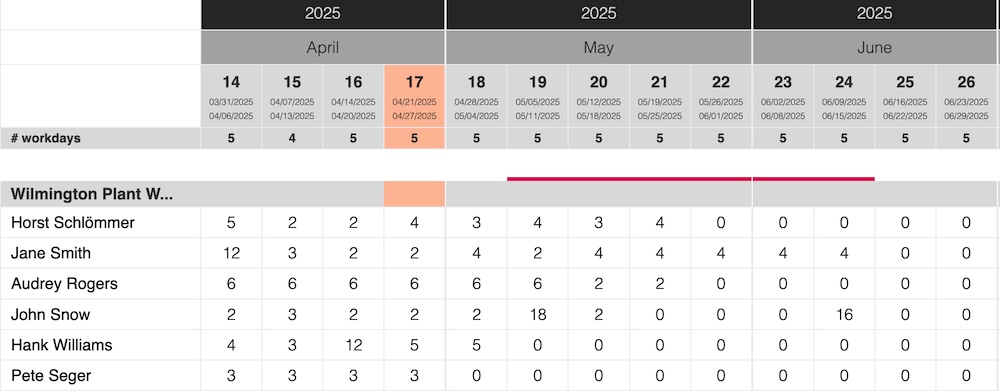
When you go to the Project View or Team View, the new assignment will be visible and you’ll be able to maintain hours for the respective team member and project.